How to Add DISQUS Comment System in Your Website
Disqus is a plugin based comment system that is suitable for WordPress or any kind of website. This tool is not used only for comments, but it turns your comment system to a community. So you get more engagement to your posts. Millions of users are using Disqus, because it is an effective comment controlling system to convert their site into a discussion community. It is free, easy to install and provides more features like moderation, spam filtering and social integration etc. So in this tutorial i am showing you how to integrate/ add Disqus comment system in your website easily (Step by Step Guide)…
Although WordPress got its default commenting system which is simple and has few options. But using Disqus commenting plugin, you will get more customization option for comment section. You don’t need any extra host to use this service, it is hosted and powered by Disqus. So you just need to install, then add Discus comment plugin to your website.
How to Add DISQUS Comment in Your Website:
Step 1: First go to your admin dashboard from WordPress, go to plugins> add new > search for Disqus. (Click on this photo for bigger view)
Step 2: Simply activate that plugin and click on setting. Then it will ask you to login. If you don’t have Discus account, then click on “Don’t have a Disqus profile yet”.

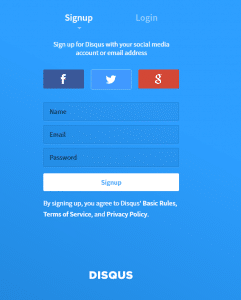
Step 3: In the next step, you need to create a Discus account from Discus.com. You can also log in using your Facebook, Twitter or Google account. But it is better if you create a new account using your email.
Step 4: Nice! Your account has been created. Now you have to choose “I want to install Disqus on my site”. Give your Website name, category and click on Create Site.

Step 5: Now choose the hosting platform of your website. Disqus offers ready made plugins for WordPress, Blogger, Tumblr, Squarespace, TypePad, MovableType, Drupal, Joomla, Wix and Weebly. If your website platform is not listed, then you have to install disqus with Universal code.

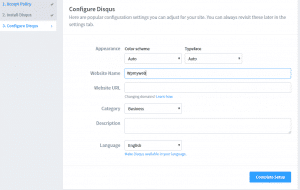
Step 6: This is the final step. In that section you can change appearance and font style of disqus comment box by the given options. And then write your website name and website URL. Website URL must be look like this “http://Domain.com”. Choose your website category and give description, click on complete setup.
Moderating Disqus Comments:
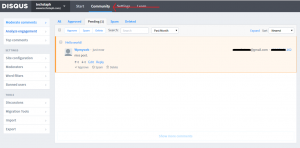
Step 7: Hurrah! You have successfully installed Disqus comment plugin into WordPress. Now go to Admin panel, and from here you can manege your all settings. As you can see there is 1 comment needs to be approved. So either you can approve or mark as spam. You can also enable “Word Filters“, so every comments containing restricted words will require moderator approval before being published.
If someone continues spam in your comment post, then you can easily ban him from moderation board. Besides, trusted items allow users to bypass certain moderation filters (such as spam).
(Click on that pic for bigger view)
Step 8: Now come back to your WordPress dashboard, and go to Disqus setting. Log in with your Disqus account details.

Once you are logged in, you will be shown the site you registered for Disqus commenting system. Select the site and click on the next button to finish the set up.

Now you have successfully integrated Disqus comment system into WordPress. You can see it in action by visiting any post on your site, and you will see Disqus comments instead of WordPress comments on your site.
Exporting Older WordPress Comments into Disqus:
After installing disqus comment system in your WordPress site, you wouldn’t be able to see your older comments. To solve this issue, you have to export older WordPress comments into Disqus. To do this, go to Comments> Disqus and click on the plugin settings on the top right corner of the screen.

After going Disqus plugin settings page, scroll down to Import and Export section and click on Export Comments button. This will export your existing WordPress comments to Disqus.

*This post may have affiliate links, which means I may receive a small fee if you choose to purchase through my links (at no extra cost to you). This helps us to keep WPMyWeb up and running and up-to-date. Thank you if you use our links, we really appreciate it! Learn more.
